Tuesday, February 25, 2025

Wallflowers - Hexis Finished!

I finished up the last of the full hexis last night.  Now I just have the half-hexis on the top and the bottom (13 on each edge) and then I can work the border and this will be done!  With the darker yarn I am mostly working on this in the afternoon when I have good natural light.  I have the box with the yarn, with the blanket folded on top next to my daybed so that I can work on it whenever my cat, Jezebel, is not sleeping on it.
She was actually a bit miffed with me last night because after I finished with the hexis I spent the rest of the evening Netflixing and sewing in ends.  I now have all the ends sewn in.  I have been keeping up with the sewing in ends thing, but I would typically wait until I had completed the next part of the project just to make sure I didn’t have to rip back.  If I were keeping to that plan I would not have sewn in the ends for all for my dark purple hexis, but I decided to sew all of them in.

Pattern:  Wallflowers by Sue Maton
Yarn:  Rowan Felted Tweed
Hook:  3.75 mm (F)


Garter Stitch Scarf - Finished!

One of the things that the Sheepspot Spinschool recommends is immediately starting to work with your handspun.  As mentioned in a previous blog post I had spun up some roving from Zen Yarn Garden.  It still wasn’t consistently spun, but there were sections that were very good, and I decided to knit it up into a simple garter stitch scarf.  It was very nice to knit with, even with the inconsistent thickness.  I used a US  6 (4.0 mm) needle.  It relaxed a bit when I blocked it.  Here is the pre-blocking picture.
And here is the yarn that I used.

Pattern:  None - just cast on 35 stitches and work until all the yarn is used up
Yarn:  Handspun from Zen Yarn Garden Superwash Merino Roving
Needle:  US 6 (4.0 mm)


Dyeing My Handspun

I spent a day last week dyeing up my handspun using the dyeing kit that I had bought from Wool Tincture.  It was super easy, and fun.  The only hiccup came on the last skeins to be dyed (bottom right corner) which came out with some lighter patches, which I am attributing to the fact that I used tap water instead of filtered fridge water - I had used filtered water on all the other batches.  There was even some undissolved dye powder left over in the jar when I dumped the water and rinsed it.  Lesson learned.  The colors are (from left to right and top to bottom):  Turquoise, Eggplant, Deep Water, and Malbec.  This yarn, which is on the bulky side and is not very consistently spun will be turned into a blanket for my cat.  She really likes to lay on my knitting and crochet projects, and has already loved on these skeins.

I set up my dye operations in the spare bathroom.  That is a trivet under the dye jar (part of the instructions).
Here is the first batch of yarn in the dye jar.
First batch on the drying rack, and second batch in.
Second batch on the drying rack and third batch in.
Third batch on the drying rack and fourth batch in.  I modified the arrangement of the drying rack between the second and third batches, to give myself enough room to hang the skeins.  All in all it was a very fun experience.


Thursday, February 20, 2025

More Spinning

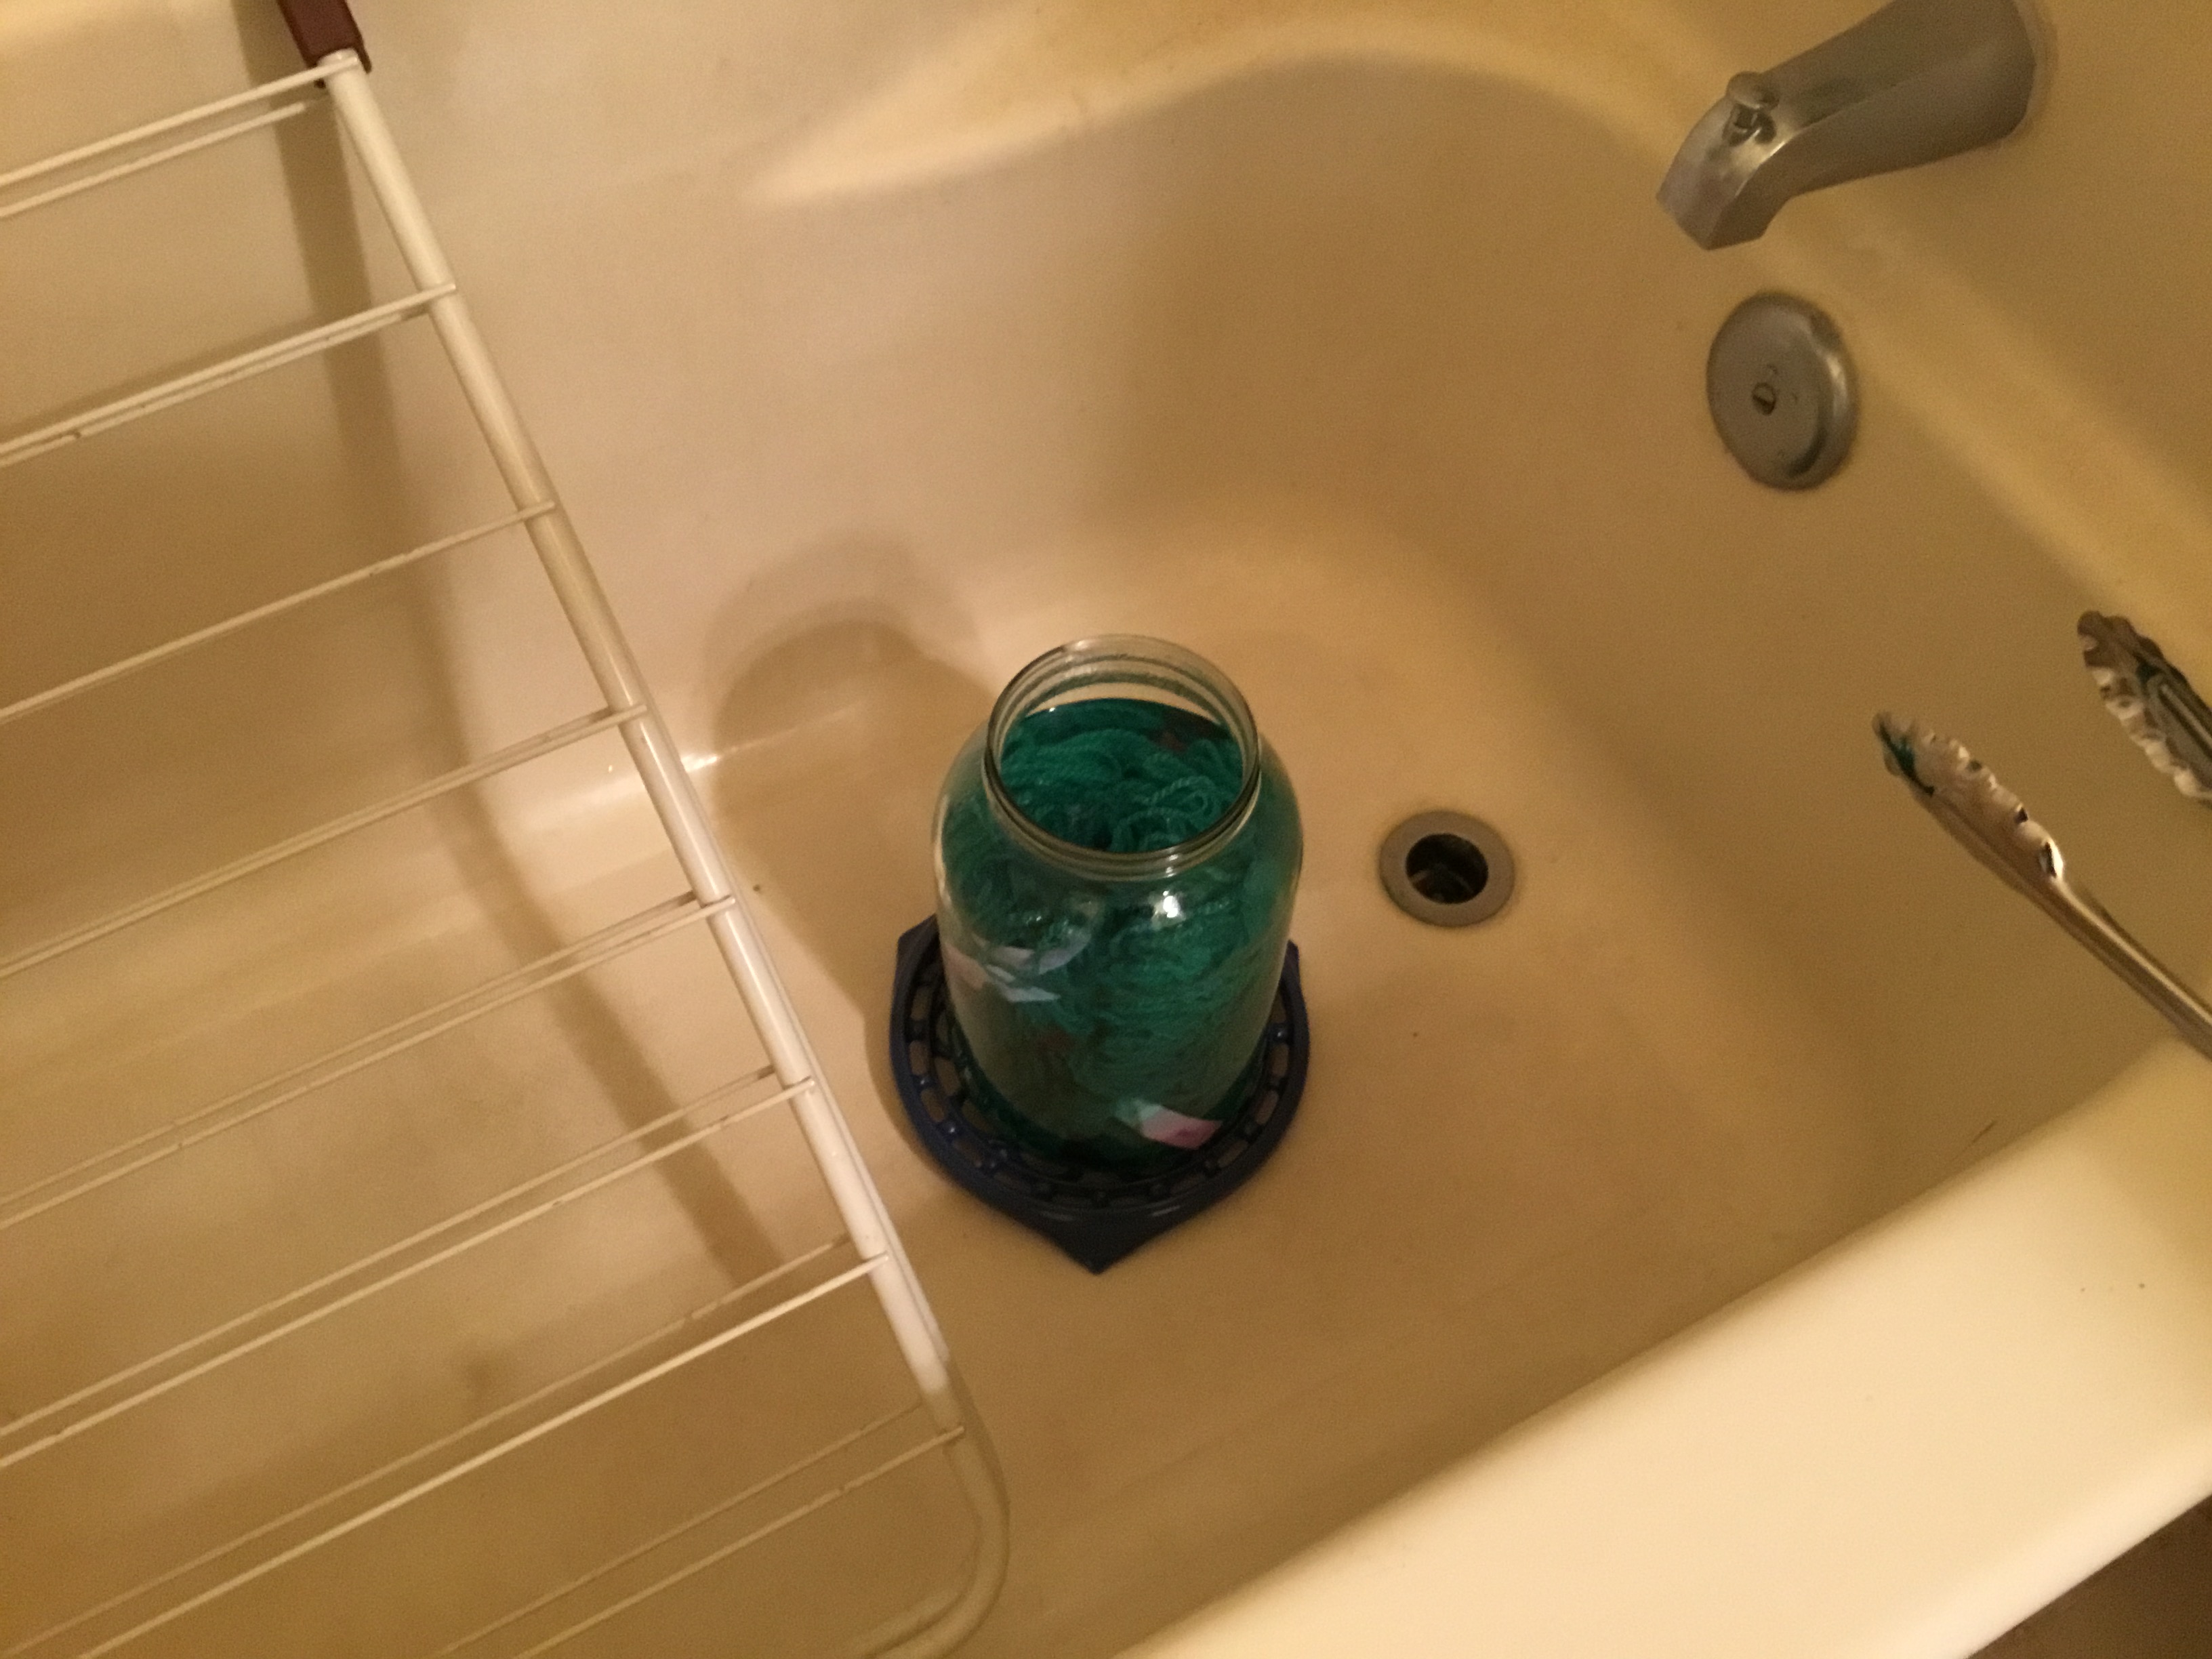
I’ve also been trying to spin regularly and finished up my first pound of Heinz 57 top from The Woolery, and cracked open the second pound bag of Heinz 57 that I had bought.  These two skeins were spun on a faster whorl (16:1 as opposed to 10:1), which was a bit exciting at times.  They are all tied up and ready for a dye bath.  I purchased a dyeing kit from Wool Tincture, which claims that if you can brew a cup of tea you can dye yarn.  I definitely have mastered tea brewing, so we shall see how that goes.
The kit comes with a dyeing jar (no sacrificing any of your kitchen ware) and you can get pre-measured dye kits in complementary colors, all you have to do is add the hot water and let the magic happen.  No fancy variegated stuff - just solid colors - but that is fine with me.  I just don’t feel like working with white wool.
I also spun up one of the dyed rovings that I bought ages ago when I first thought I would want to go down the spinning rabbit hole.  This was a roving from Zen Yarn Garden, who have recently closed their shop (they retired), although their dyer has opened up one of her own, so you can still get their beautiful colors.  I have a lot of their yarn in my stash.  This roving had been sitting around in its plastic wrap for years in my studio, never finding a home, so I just grabbed it, opened up the package, undid the braid and let it breathe for a few days before I started spinning.  The fiber is superwash merino, and it was dreamy to spin, so silky and soft.  I went back to the slower whorl (10:1) for this one, just because I felt like I had more control.  My spinning is still not consistent, but the yarn came out beautiful and soft.  It will likely become a scarf.

For plying both of these sets of singles I broke out the jumbo flyer that I had bought for my Kromski spinning wheel.  Getting it switched over was a bit of a challenge, and getting it set up to actually ply was also a bit of challenge and I ended up snapping my string drive band.  Fortunately I had a spare poly drive band so I replaced the band and got it all working.  It definitely took more effort to treadle (I have a single treadle), especially as the bobbin filled (inertia is real).  Spinning with my regular flyer is really easy and almost effortless, so I wasn’t super happy with the experience of plying on the jumbo.  I’m seriously thinking about getting a second wheel just for plying and am looking at the Ashford Kiwi 3, which comes with larger capacity bobbins, and is compact, and folds up.
 

Holly Sweater - Finished!

And it is done!  I finished up the second sleeve this past Sunday and blocked it on Monday.  So, my first all-over colorwork, top-down, yoked sweater is done.  I learned lots and enjoyed the knitting.   I have two more Advent calendar kits from Onling to knit up - one from 2023 and one from 2024 - but right now I am back to working on my Wallflower Blanket.  I need to finish it up so I can get started on Tesselation Nation.

Pattern:  Holly Sweater by Ruth Sorensen
Yarn:  Shetland Wool
Needles:  US 4 (3.5 mm) and US 5 (3.75 mm)

Friday, February 14, 2025

Holly Sweater - One Sleeve Done!

After finishing my needlepoint excursion I went back to working on my Holly Sweater and quickly finished up the sleeve.  When I started the sleeve I worked the decreases as the pattern calls for, but when I tried it on I decided that the decreases (every five rows!) were making the sleeve too tight, so I ripped back to the row before the first decrease and worked the sleeve without decreases.  That made for much easier knitting as I didn’t have to make sure to adjust the pattern every time I decreased to line up the motifs correctly.  When I got to the cuff I worked a decrease round to get me to the correct number of stitches, from 96 stitches down to 64, which meant I worked k1, k2tog all the way around.  I also only worked 22 motifs instead of 23, as the pattern size (XS) called for, and worked 12 rows of ribbing before binding off.  The sleeve length is perfect and I like the way it gathers in at the cuff.  I think it fits with the easy of the body.

Pattern:  Holly Sweater by Ruth Sorensen
Yarn:  Shetland Wool
Needles:  US 4 (3.5 mm) and US 5 (3.75 mm)

Wednesday, February 12, 2025

A Little Needlepoint Excursion

I took a little break from knitting last week (I had overdone it and was noticing some soreness in places that aren’t usually sore) and spent the week doing a little needlework project.  This was a kit for a notions bag. I found it when I was setting up my spinning corner.  The zipper actually goes all the way around so you can unzip it to work the needlepoint and then zip it back up to use it.  I also added a cotton lining just to finish it off.  My first forays in to the crafting universe were actually embroidery and needlepoint back when I was in my early teenage years.  I don’t think I have any of the embroidery that I did, although I think I still might have my embroidery hoop somewhere, but maybe not, it has been a very long time since I’ve seen it.  I do have three needlepoint pillows that I have made, including my very first one, which was a bargello kit.  I also have several cross-stitch and needlepoint kits that I have purchased over the years, and a latch-hook “tiger skin” rug that I have never finished - all I have left is the assembly.  One of these days, now that I’m retired…

Sunday, February 2, 2025

Holly Sweater - Body Done!

I finished up the body last night, and started on a sleeve.  Spit splicing the yarn is working great    I also did a long-tail cast-on for the stitches under the arm when I set up the body stitches.  The first body row begins with casting on 8 stitches, so I did a long-tail cast-on and dropped the end when I got to the body stitches.  When I got to the other underarm stitches I tied a piece of the same color yarn to the working strand and did the long-tail cast-on again.  I like the nice edge this gives, as well as easy stitch pick-up, and it also seems to reduce those pesky holes you tend to get.  Plus, if you do have any holes you have tails at each side of the underarm seam to sew them closed.  This will be my go-to technique going forward.

The pattern calls for 6 cm of ribbing at the hem, but I only did 4, 6 just seemed excessive, and the sweater is plenty long enough on me.

Pattern:  Holly Sweater by Ruth Sorensen
Yarn:  Shetland Wool
Needles;  US 4 (3.5 mm) and US 5 (3.75 mm)