I've been thinking about my Liquid Gold Sinua and how I want to adjust the pattern, because that is just what I do. I did a swatch, and got gauge right off. Always a good thing.

The pattern is worked from the top down, a preferred method of mine, and it has a boat neck. As written, you work the front and back separately, join them at the neckline, then pick up stitches for the sleeves, knit the sleeves and then join the side seams and the sleeve seams in one fell swoop. I want to join the front and back after I finish up the armhole and work the rest of the body in the round, and then pick up stitches around the armhole and work the sleeves in the round as well. My first challenge was the neckline. I want to join the shoulders with as little bulk as possible, and I want I nice edge around the neck as well. In the end I decided on an I-Cord cast on. For the size that I am knitting (38 inch) I need 77 stitches each for the front and the back. The shoulder join is 12 stitches on each shoulder. Using a 32-inch circular needle I cast on 53 stitches, placed a marker and cast on 53 stitches. Why 53? That is how many stitches I need for the neck opening on the front and the back (77-12-12 = 53).

Here is my I-Cord cast on. If you haven't worked one of these they are pretty easy, work a regular I-Cord, but knit into the back and front of the first stitch, and when you slip your main I-Cord stitches back to your left hand needle, leave that extra stitch on your right hand needle. I really like the I-Cord cast on because in addition to giving you a nice finish those cast on stitches are locked in place. You can pull the needle out (once you've finished off your I-Cord) and those stitches will not disappear, which can give you all kinds of options.
Next I had to get the other 24 stitches. I used 2 24-inch circular needles and two cakes of yarn and cast on 12 stitches on each needle using the long tail cast on. I took the first needle and slipped 53 of the cast on stitches onto it, then I put away my stitch marker, and using the second needle slipped the other 53 stitches onto it.
Now came the fun part, joining everything together. I want to pick up the other 12 stitches from the cast on portions, but I realized I actually needed to pull the new stitch through the stitch currently on the needle. I used the working yarn from the cast on from the opposite needle. I used a crochet hook to pull a loop through each stitch. It was a little fiddly, but not too bad.
And here it is all joined together. I worked a couple of rows on each piece to get things established.
There are a couple of other modifications that I am making. The top part of the body is worked in a knit 1 purl 1 rib, which I've never liked the look off - it always seems sloppy - so I'm working in a straight stockinette stitch. The pattern is also worked straight until you get to the bottom of the armhole, at which point I will cast on 9 stitches on each side for the underarm, resulting in a right angle. I'm going to add shaping. The sleeves are shaped for a drop shoulder sweater - they are trapezoids with no cap shaping. I'm going to add cap shaping because I'm going to knit top down set in sleeves.
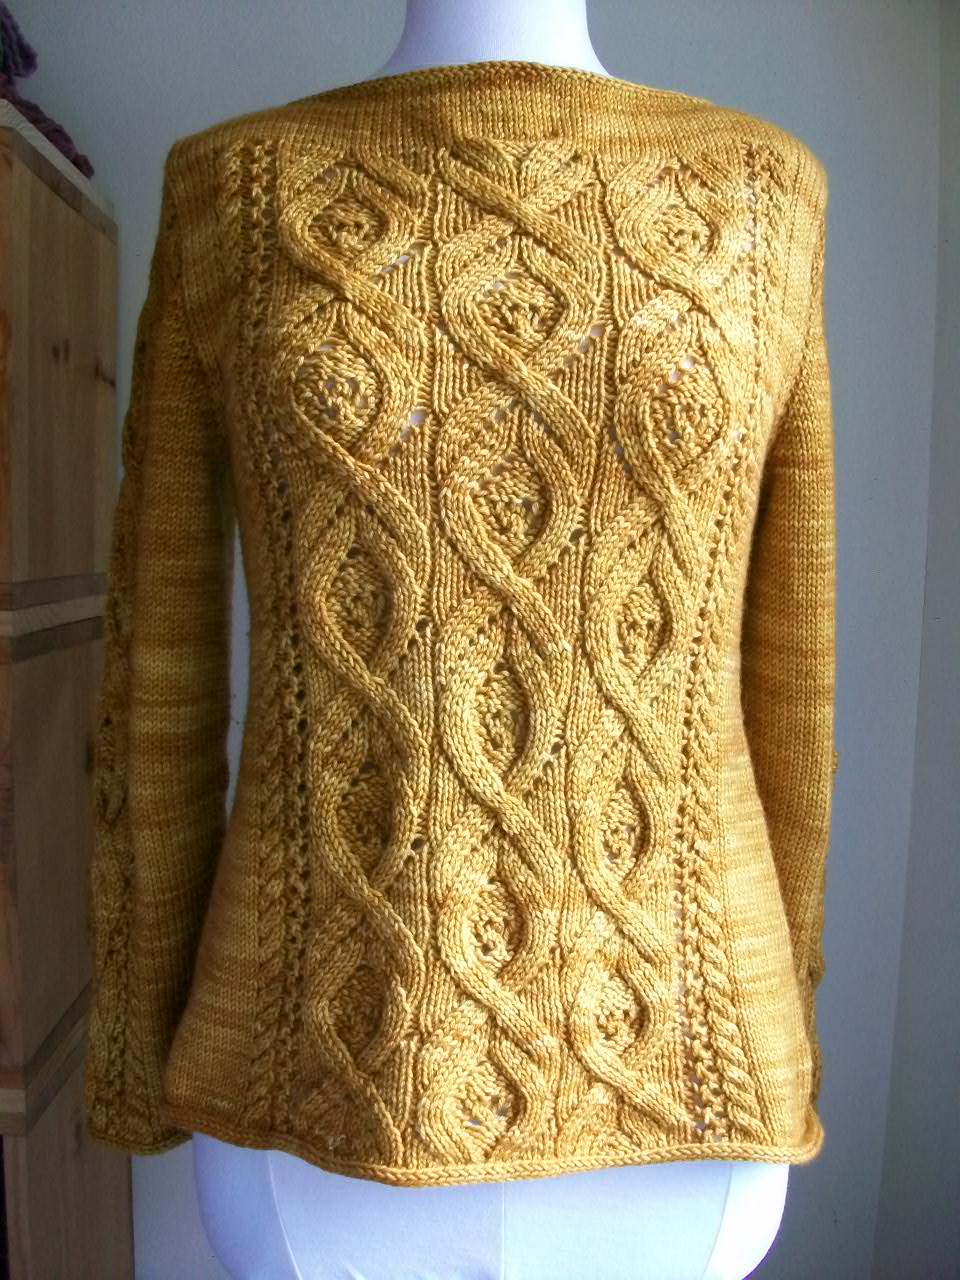
Pattern: Sinua by Susanna IC
Yarn: madelinetosh DK in Liquid Gold
Needle: US 6 (4 mm)